Your Step-by-Step Guide on How to Grow Potatoes at Home
Introduction to Growing Potatoes
Growing your own potatoes at home is an immensely rewarding and enjoyable experience that not only brings you closer to nature but also provides you with fresh, delicious produce. In this comprehensive guide on how to grow potatoes at home, you'll discover the many benefits of cultivating your own potato crop. From selecting the perfect potato variety to suit your climate and culinary needs, to understanding the importance of loose, well-draining soil and maintaining proper pH levels, this blog post covers everything you need to know. We'll delve into the differences between certified seed potatoes and grocery store potatoes, highlighting the importance of disease-free seeds for a healthy harvest. Additionally, you'll find detailed instructions on cutting and curing potato seeds, as well as optimal planting techniques and tips on spacing and depth. Learn the best watering and mulching practices, the right fertilizers to use, and how to protect your plants from pests. We’ll also discuss routine maintenance, identifying common potato diseases, and the signs that indicate your potatoes are ready to harvest. Finally, discover the proper methods for storing and curing your potatoes to ensure they last. Whether you're a seasoned gardener or a beginner, this guide will set you on the path to enjoying the nutritional, economic, and ecological benefits of homegrown potatoes.
Choosing the Right Potato Variety

Different potato varieties offer distinct benefits to suit your climate and culinary needs. For instance, Russet potatoes are cherished for their fluffy texture, making them ideal for baking and mashing, while Yukon Golds, with their creamy texture, are perfect for roasting and salads. It's essential to choose a variety that matches your regional climate; Russets thrive in more arid environments, whereas Yukon Golds perform well in moderate climates. Renowned horticulturist Melinda Myers emphasizes, “Selecting the right variety based on your climate and culinary expectations is the first step towards a successful potato harvest."
In addition to climate considerations, think about your gardening goals and preferred dishes. Red potatoes, like Red Norland, are versatile and excellent for boiling and steaming, making them a favorite for potato salads and stews. Gardening expert Margaret Roach notes, "Heirloom varieties such as the Purple Peruvian not only add a splash of color to your dishes but are also known for their nutty flavor and robustness in the garden." Utilizing a well-researched approach, you can align your potato variety choice with both the environmental conditions of your garden and your culinary ambitions, ensuring a bountiful and gratifying harvest.
Preparing Soil for Potatoes

To ensure optimal growth, begin with loose and well-draining soil to support healthy root development. Clay-heavy soils can compact easily, restricting root expansion and water penetration, which might lead to waterlogged conditions detrimental to potato growth. Instead, sandy loam soil enriched with organic matter like compost or well-rotted manure offers the needed aeration and drainage. According to the University of Minnesota Extension, organic matter also improves soil structure, vital for tuber formation.
Achieving the correct pH level is crucial for potatoes. The ideal pH range for potato growth is between 5.0 and 7.0, slightly acidic, discouraging the development of common scab, a disease that thrives in more alkaline conditions. Testing soil pH can be done using an at-home soil testing kit or through local agricultural extension services. Adjustments can be made by adding lime to raise or sulfur to lower the pH based on the test results. “Maintaining appropriate pH can significantly reduce disease risks and improve nutrient availability,” notes Dr. John Campbell, a horticulture expert.
Soil testing is not just about pH; it’s also about nutrient availability. Potatoes require a good balance of essential nutrients, particularly nitrogen, phosphorous, and potassium (NPK). Conducting a soil test can help identify any deficiencies. Building up your soil with balanced fertilizers or organic amendments ensures that all nutrient requirements are met. As an illustrative example, a gardener in Idaho shared her success in using a balanced 5-10-10 NPK fertilizer, leading to her most abundant harvest to date. Prioritize soil health by consistently monitoring and amending it for the best potato-growing results.
Understanding Potato Seed Types

Certified seed potatoes are the gold standard for starting your potato garden, selected to ensure health and productivity. Unlike grocery store potatoes sprayed with growth inhibitors, certified seeds are free from diseases such as late blight and viruses. This makes a huge difference in the health and yield of your potato crop. As Tom Hart, a seasoned horticulturist, notes, "Using certified seeds significantly lowers the risk of disease transmission and ensures a robust harvest."
When choosing between certified seed potatoes and those from a grocery store, it's crucial to understand the implications of health and productivity. Grocery store potatoes may already be treated with chemicals to prevent sprouting, thus stunting your plant's growth if used for planting. Matt Tomkin, an extension agent, explains, "Certified seeds are vetted for superior genetic quality, unlike their grocery counterparts which are primed for consumption, not cultivation."
Disease-free seeds are paramount in growing a successful potato garden, helping you avoid various potential pitfalls like rot and bacterial infections. Certified seeds undergo rigorous inspection processes and are certified by agricultural bodies to ensure they are disease-free. It's a small investment that can yield a much more substantial return when it comes to a healthy crop.
Using certified seed potatoes not only increases yield but also simplifies the growing process, minimizing the chances of crop failure. This means less time is spent battling ailments and more is spent on nurturing a thriving garden. Relying on certified seeds allows you to focus on other crucial aspects of potato growing, such as soil quality and proper watering.
Cutting and Preparing Potato Seeds

When preparing your potato seeds, start by identifying a healthy potato with multiple eyes, which are small sprouts or indentations. Choose a potato with at least two or three eyes for the best yield. Using a clean, sharp knife, slice the potato into smaller pieces, ensuring each piece has at least one or two eyes; this increases the number of plants you can grow from a single potato. For example, a medium-sized potato can usually be cut into four to six seed pieces.
After cutting, it is essential to let the potato pieces cure. Allow the cut pieces to air-dry for a few days by placing them in a cool, dark, well-ventilated area. This curing process helps the cut surfaces develop a tough skin, which serves as a protective layer. According to the University of Maine Cooperative Extension, curing reduces the risk of seed pieces rotting once planted in the soil.
Curing is particularly important because it helps to prevent diseases. When the cut surfaces dry out and form a protective callous, they are less susceptible to pathogens present in the soil. This step is crucial, especially if you are planting in an area where soil conditions can promote fungal infections like Fusarium dry rot.
Additionally, before planting, some gardeners like to dust the cured potato pieces with an organic fungicide, such as sulfur powder. This can further prevent potential fungal issues and is particularly useful in humid climates. Experts like Dr. John Navazio of Seed Savers Exchange highlight the benefits of using natural fungicides to keep your plants healthy without relying on chemical treatments.
Remember to always handle the cut and cured potato pieces gently. Rough handling can cause bruising or damage to the eyes, leading to poor growth and low yields. Once properly cured and prepared, your potato seeds are ready for planting, setting the stage for a bountiful harvest of homegrown potatoes.
Planting Potatoes Correctly
To plant potatoes correctly, start by choosing a location with full sun and well-draining soil to promote healthy growth. Plant your seed potatoes in early spring, once soil temperatures reach around 45°F. Ensure each seed potato piece has at least one "eye," planting them cut side down with eyes facing up. Bury the seeds about 3 to 4 inches deep and space them 12 to 15 inches apart within rows, leaving roughly 36 inches between rows to allow for hilling later. As your potatoes grow, add soil or compost around the base of the plants to encourage tuber development and reduce the risk of greening from sun exposure. This method, known as "hilling," helps protect the developing potatoes and increases yield. By following these steps, you set a solid foundation for a bountiful potato harvest.
Proper Spacing and Depth for Planting

For planting potatoes, proper spacing and depth are crucial to ensure healthy growth and bountiful yields. Each seed potato should be planted approximately 12 inches apart in rows, with rows spaced about 2 to 3 feet apart. This allows enough room for the tubers to develop without competing for nutrients and water. Planting them too close can lead to overcrowding, which may stunt their growth and make them more susceptible to disease. Ensuring an optimal depth is also vital; plant the seed potatoes 3 to 4 inches deep in well-prepared soil. This depth promotes good root and tuber formation while protecting developing potatoes from sunlight, which can cause them to turn green and become toxic.
In addition to these general guidelines, consider the variety of potatoes you are planting as spacing needs can vary. For example, larger varieties like Russet potatoes might require more room compared to smaller types like fingerlings. An expert from the University of Maine Cooperative Extension, for example, suggests adjusting row spacing based on your garden layout and the potato variety to maximize airflow and sunlight penetration. This not only helps in reducing the risk of fungal infections but also makes maintenance like watering and weeding more manageable. Following these recommendations carefully ensures that your potato plants have the ideal conditions to thrive and produce a plentiful harvest.
Watering and Mulching Tips

When watering your potato plants, ensure they receive about one to two inches of water per week, promoting deep root growth. Avoid overwatering, as it can lead to rot; instead, opt for consistent, even moisture. Mornings are ideal for watering since it allows foliage to dry out during the day, thus reducing the risk of fungal diseases. As Barbara Pleasant, a gardening expert at GrowVeg, advises, “Uniform moisture is key for preventing issues like hollow heart and cracking in potatoes.”
Mulching your potato plants offers multiple benefits, such as retaining soil moisture and suppressing weed growth. Use organic materials like straw, hay, or leaf mulch to cover the soil around the plants. Apply a layer about three inches deep after the plants have grown a few inches tall. This organic matter will decompose and enrich the soil, creating a healthier environment for your potatoes.
An anecdote from experienced gardeners often highlights the difference mulching can make. John, a long-time gardener, shares that after incorporating straw mulch in his potato patch, he noticed fewer weeds and healthier plants overall. To further control weeds, make sure to keep the mulch replenished throughout the growing season, preventing weed seeds from germinating and ensuring your potato plants thrive.
Fertilizing Your Potato Plants

Using suitable fertilizers is essential for healthy potato growth. Aim for a balanced fertilizer with a ratio like 10-10-10 or 14-14-14, which provides an equal mix of nitrogen, phosphorus, and potassium. Organic options like compost or aged manure can enrich the soil with essential nutrients, promoting robust plant development.
Timing your fertilization is crucial. Apply the initial dose when planting, incorporating it into the soil. A side-dressing of fertilizer should follow when plants are about 6 inches tall. This ensures the plants receive nutrients during critical growth phases, enhancing both yield and quality.
Understanding specific nutrient requirements can make a significant difference. Nitrogen promotes leafy growth, phosphorus enhances root development, and potassium improves overall plant health and tuber quality. Too much nitrogen, however, can lead to lush foliage but fewer potatoes, so balance is key.
Experimenting with foliar feeding might also be beneficial. This involves spraying a diluted liquid fertilizer directly on the leaves. This method can quickly correct nutrient deficiencies, ensuring that your potato plants remain healthy and productive throughout the growing season.
Protecting Potatoes from Pests

To protect your potatoes from pests, it is essential to identify and manage common threats. One notorious pest is the Colorado potato beetle, which can decimate your plants if left unchecked. Handpicking these beetles and their larvae off the plants is highly effective, and you can drop them into soapy water to kill them.
Other pests like aphids and flea beetles can be managed using organic insecticidal soap or neem oil. Regular inspections of your plants will help catch infestations early. Introducing beneficial insects such as ladybugs and lacewings can naturally reduce aphid populations.
Furthermore, companion planting can serve as both a deterrent and a protective measure. Marigolds, for example, repel certain beetles, while basil can help ward off aphids. Crop rotation is another effective strategy, as it prevents pests from becoming established in your potato patch.
Physical barriers like row covers can also be employed to shield your potatoes. These covers provide a barrier against flying insects while still allowing sunlight and water to penetrate. Ensuring healthy plants through proper fertilization and watering ultimately makes them less susceptible to pest damage.
By combining these techniques, you can create a robust defense against pests, ensuring a healthy and bountiful potato harvest.
Weeding and Maintenance
To ensure your potato plants thrive, maintaining a weed-free environment is crucial as weeds can siphon essential nutrients and water from your potatoes. Regularly check your garden, ideally once a week, and remove any weeds manually or with tools like a hoe to prevent them from becoming unmanageable. Mulching with straw or shredded leaves can act as a natural weed barrier, retaining soil moisture and aiding in weed suppression. Besides weeding, periodically hill your potato plants by mounding soil around their stems. This practice not only smothers small weeds but also supports the developing tubers and prevents them from turning green due to sunlight exposure (source: University of Minnesota Extension). The combined efforts of persistent weeding and diligent maintenance will contribute significantly to a healthy and bountiful potato harvest.
Identifying Common Potato Diseases

Diseases like late blight and common scab can significantly impact your potato yield. Late blight, caused by the Phytophthora infestans pathogen, manifests as dark, water-soaked lesions on leaves and stems, eventually destroying the entire plant. To prevent it, opt for resistant potato varieties and practice crop rotation, avoiding planting potatoes where nightshades have grown for at least three years. According to Dr. Steven Johnston, an expert in plant pathology, "Using certified seed potatoes is crucial in avoiding blight contamination."
Common scab, characterized by rough, cork-like lesions on tubers, is caused by the Streptomyces bacteria and thrives in high-pH soil. Lowering your soil pH to 5.2-5.5 by incorporating elemental sulfur can help mitigate this issue. Ensuring even soil moisture levels throughout the growing season also reduces scab occurrence. As gardener Rachel Walters shares, "Regular watering and maintaining soil acidity can be your best defense against common potato diseases."
Harvesting Potatoes Successfully

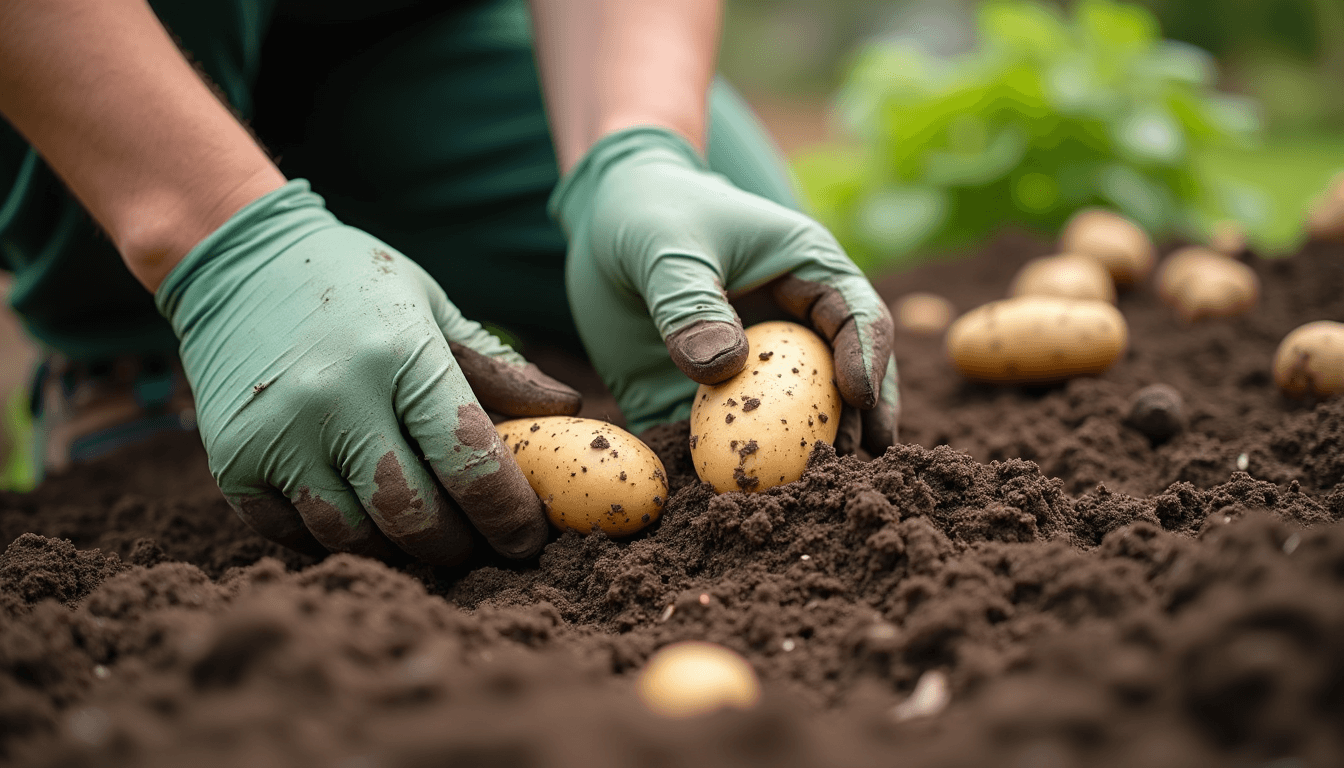
When the potato plants' foliage begins to die back and turn yellow, it is a key sign that your potatoes are ready to be harvested. This typically happens about two to three weeks after the plants have flowered, indicating that the tubers have matured. For the smoothest process, carefully dig around the base of each plant with a garden fork or spade to avoid slicing through the potatoes. Lift the plants gently from the soil and pull the tubers free.
Once harvested, handle your potatoes with care to avoid bruising or damaging their skins, as any cuts or nicks can lead to rot during storage. Brush off excess soil rather than washing them, as water can promote mold growth. It's best to harvest on a dry day to ensure your potatoes come out of the ground in good condition.
Allow harvested potatoes to cure in a cool, dark, well-ventilated space for about two weeks. This process helps toughen their skins, making them more durable for storage. After curing, store your potatoes in a cool, dark place with temperatures between 45 to 50 degrees Fahrenheit and high humidity. Proper storage will ensure you have fresh, homegrown potatoes for months to come.
Storing and Curing Potatoes

Curing potatoes post-harvest ensures a longer shelf life by thickening their skins. Spread them in a single layer in a cool, dark, and ventilated area for about two weeks. After curing, store them in a dark place with temperatures between 45-50°F.
Ventilation is crucial; consider using slatted wooden boxes or mesh bags. Keep them away from onions as they can cause potatoes to spoil faster. Once stored correctly, your homegrown potatoes can last for several months, ensuring you enjoy them well beyond the harvest season.
Common Growing Mistakes to Avoid

Overwatering is a common mistake that can lead to rot and disease. Ensure the soil remains moist but not waterlogged. Another frequent issue is planting potatoes too close together. Proper spacing of at least 12 inches apart is necessary for good air circulation and for the tubers to develop fully. Avoid using potatoes from the grocery store as seed potatoes because they might carry diseases that could ruin your crop. It's also critical to plant at the right depth; too shallow and they may get sunburned, too deep and they may struggle to emerge. Lastly, ignoring pests and diseases can devastate your plants; regular inspection and prompt action against pests like the Colorado potato beetle are essential.
Benefits of Homegrown Potatoes

Growing potatoes at home offers numerous benefits, from nutritional advantages to environmental impact. Homegrown potatoes are fresher and richer in nutrients compared to store-bought, lacking chemical preservatives often used in commercial farming. Economically, cultivating your own potatoes can significantly cut grocery expenses, especially for frequent potato consumers. Environmentally, growing your own potatoes reduces carbon footprints by eliminating the need for transportation and packaging. Additionally, it gives you control over pesticide use, ensuring a safer and more organic crop. Building your own potato garden also provides a fulfilling and educational experience, encouraging sustainable living practices.
Conclusion: Enjoy Your Homegrown Potatoes
By following these steps, you'll soon harvest and savor the amazing flavor of your homegrown potatoes. Not only is growing potatoes at home rewarding, but it also offers numerous benefits, from nutritional value to the satisfaction of cultivating your own food.
Now that you're equipped with all the knowledge needed to begin your potato-growing journey, get your hands dirty, enjoy the process, and watch your hard work flourish. Happy gardening, and may your potato harvest be bountiful!
Meta Description: Your step-by-step guide on how to grow potatoes at home: choosing varieties, soil preparation, planting, and more.
Meta Keywords: how to grow potatoes, growing potatoes at home, planting potatoes, potato varieties, home gardening
Sources:
https://www.gardeningknowhow.com
https://www.almanac.com
https://www.thekitchn.com
https://www.extension.umn.edu